Homemade Pizza Crust
Is there a mightier flatbread than pizza crust? Is there one that is loved more universally?I don't think so.Most of us love pizza. I love pizza, and it's pretty safe to say I never don't want it. During the coronavirus shutdown, though, it's been...not as easy...to get our hands on the pizzas we want. At least, it hasn't been that easy in central PA. Thankfully, now I have The Pancake Project and can explore the world of pizza to my heart's content.I grew up in New Jersey so my comfort food pizza is built on a nice thin crust. Strong enough to support toppings, flexible enough to fold and eat, delicious enough to keep eating until there ain't no mo'. And thin crust means it's diet pizza*, right?*There is no such thing as diet pizza.Here's what you need:
- 3 3/4 cups all-purpose flour
- 2 1/2 teaspoons instant or other active dry yeast
- 2 1/2 teaspoon salt
- 3/4 teaspoon sugar
- 1 1/3 cups water, room temperature
- Olive oil, for greasing
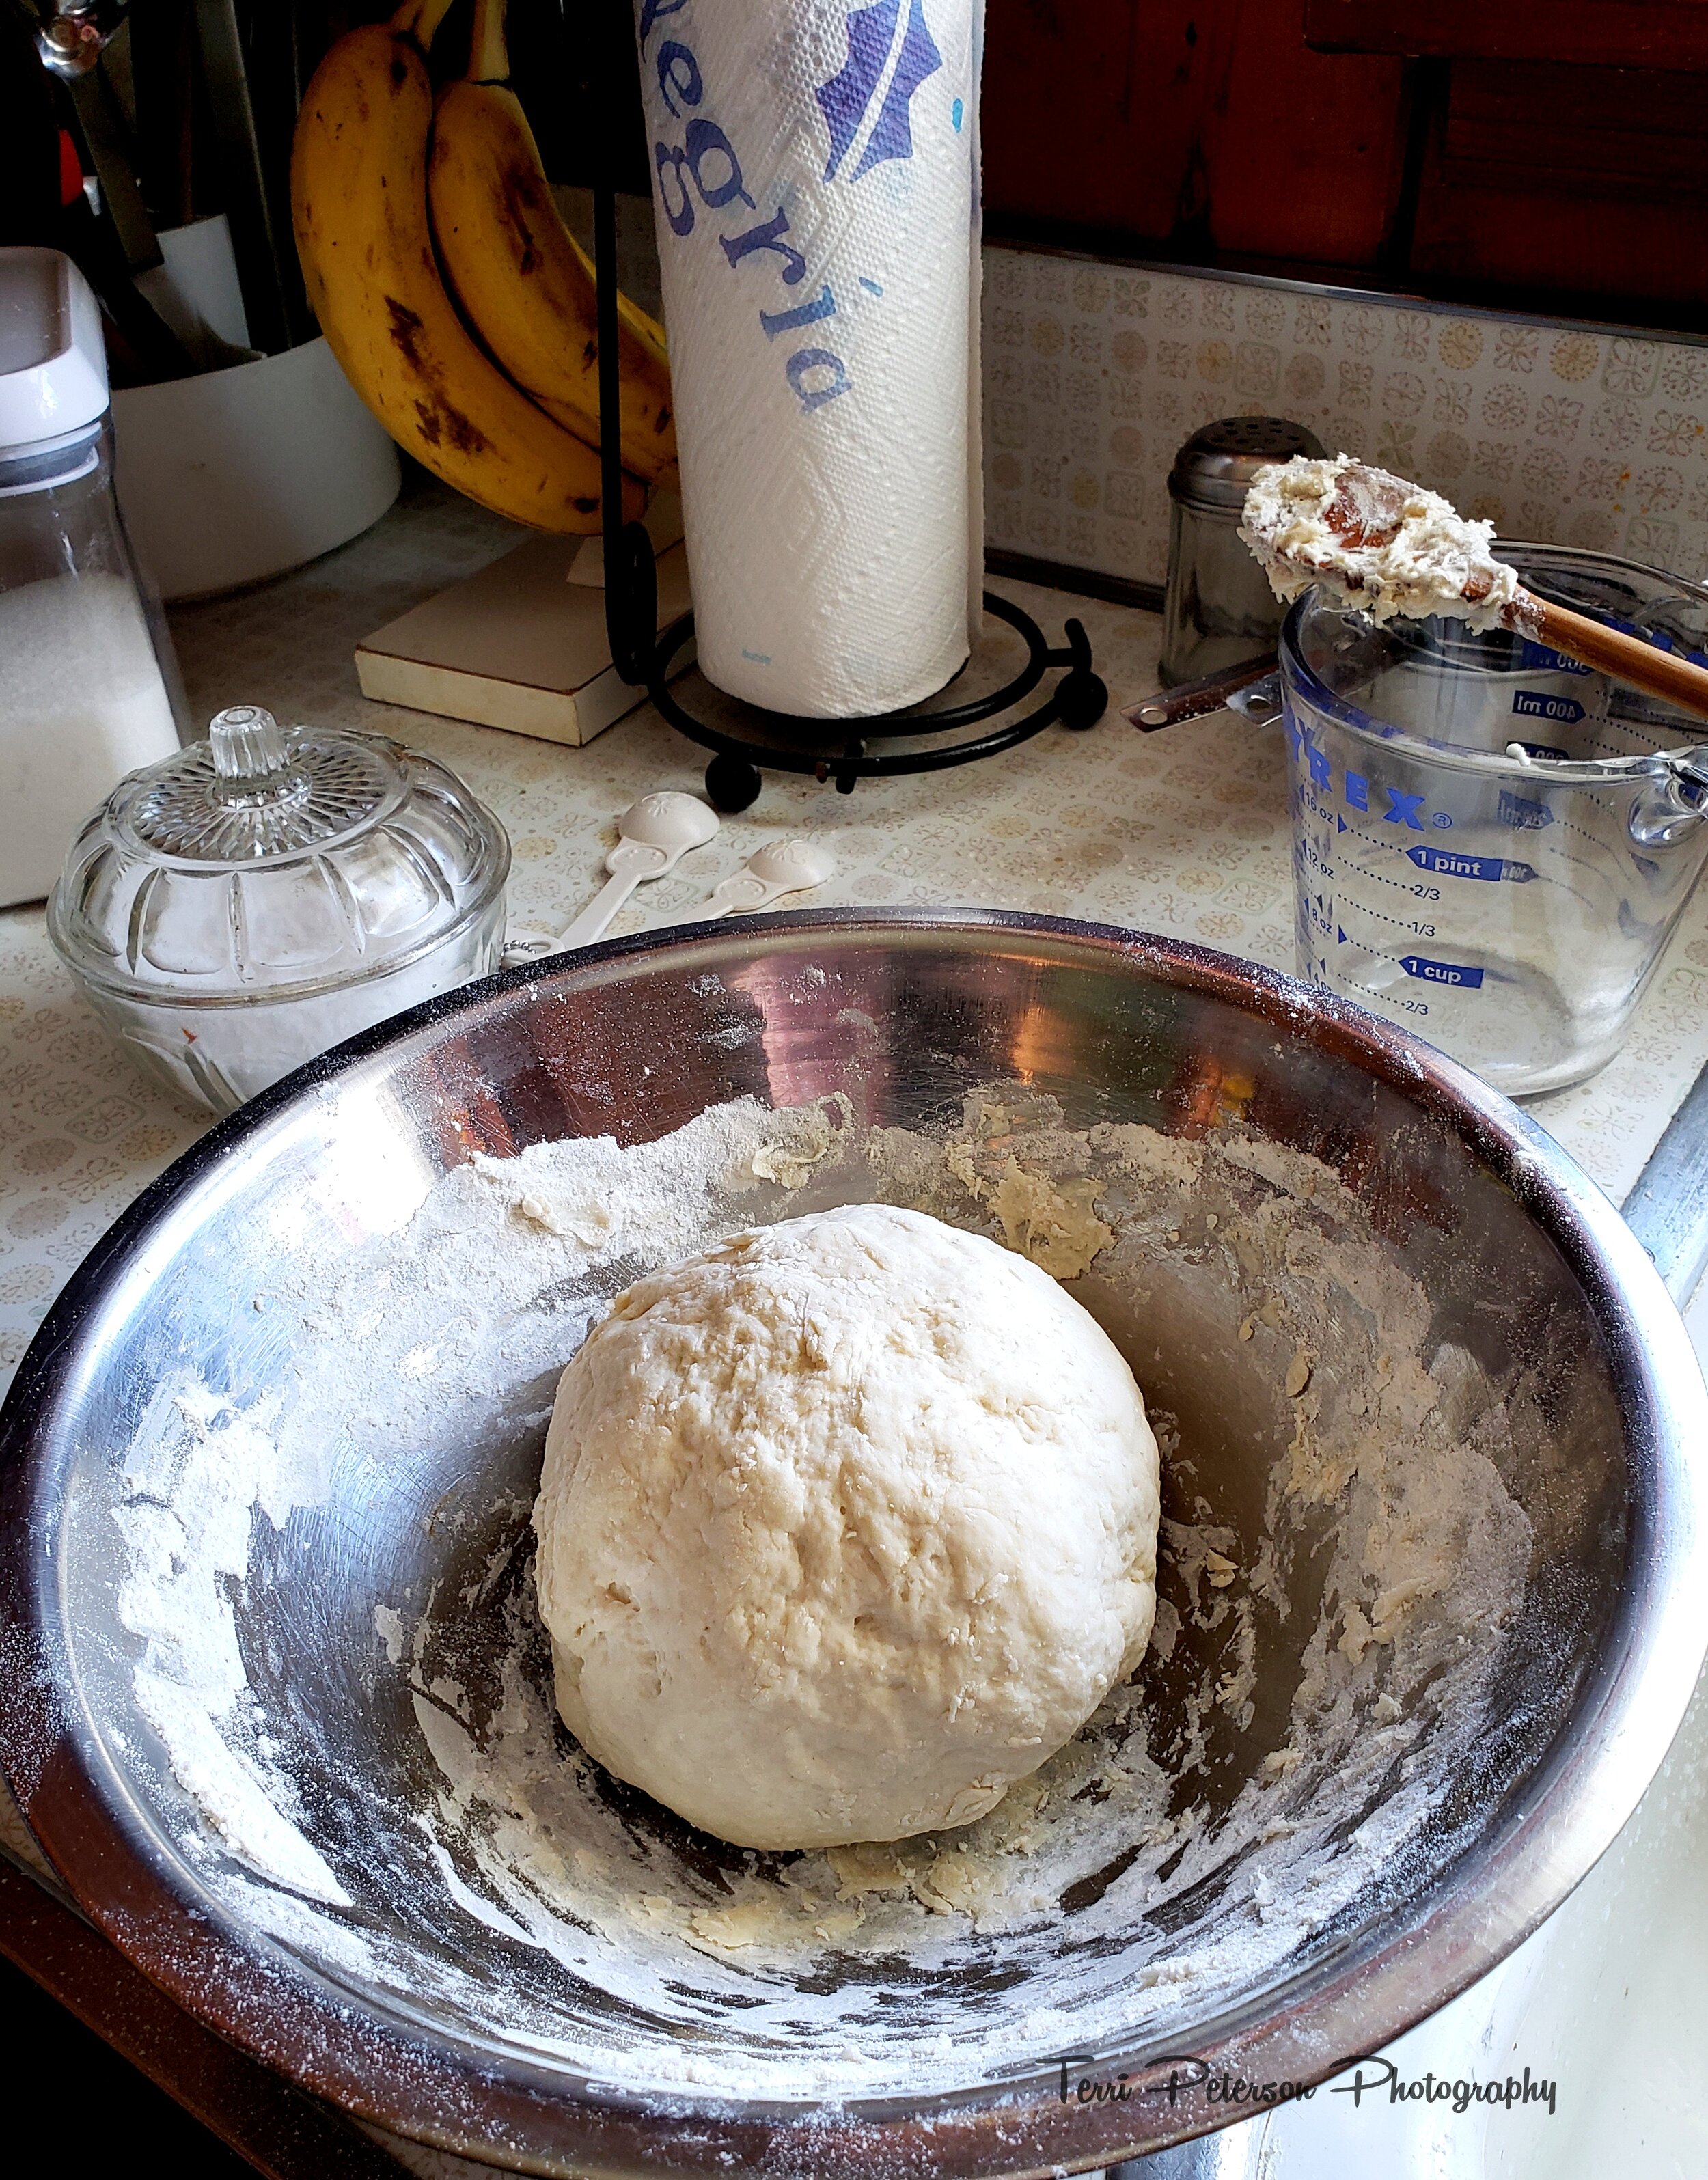
[Get a .pdf file for crust directions here][Convert to metric measurements here]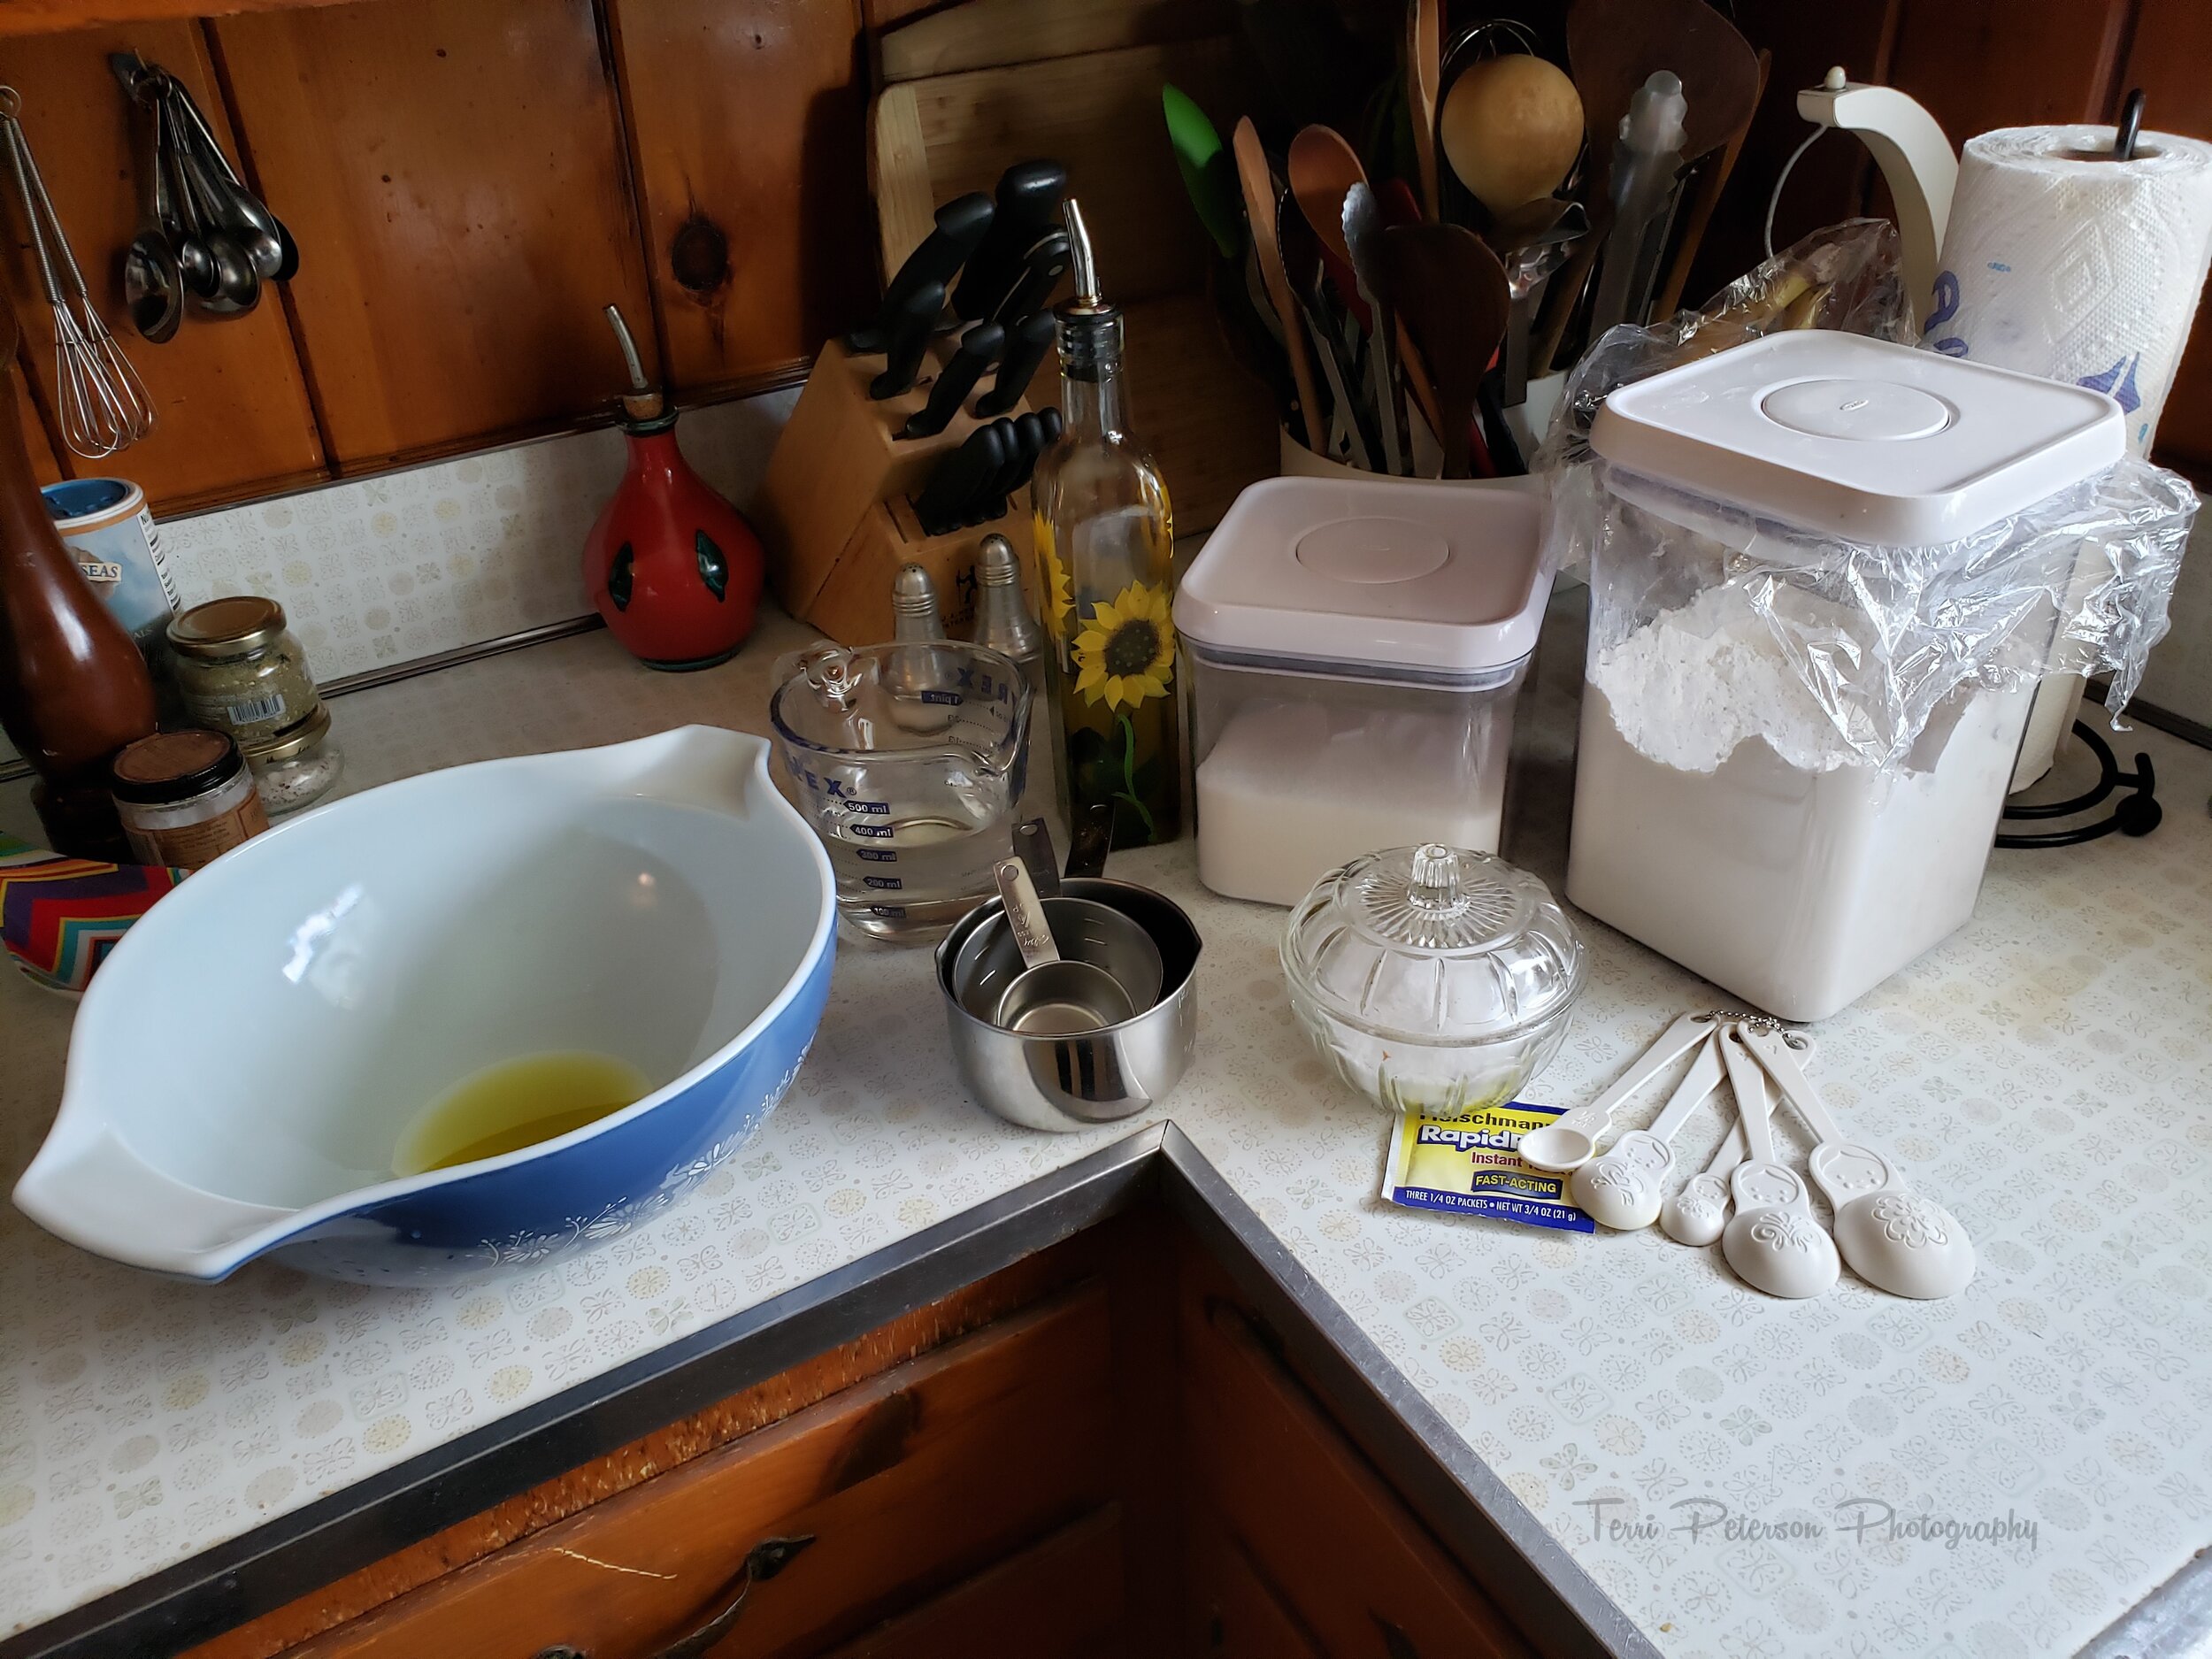 Here's what you do:Select a nice big bowl that you're going to use to proof your dough. Pour enough oil in it to coat the bottom of the bowl, and set it aside.Put all your dry ingredients--flour, salt, sugar, yeast--into a mixing bowl. Whisk them together, and then add water. The water should be room temperature or slightly warmer, and no higher than 100°F (37°C); if it's warmer than that you will most likely kill your yeast, which will make for non-rising bread and what would the point of this be, then, really? Mix all of this together and turn it from the kind of bubbly slush you will initially see, into a nice, round, smooth ball. As you can see from the photo, I started with a spoon, but it didn't last. I finished the dough thanks to my (impeccably clean) hands, which really are the best tools for getting in and working dough. Just don't overwork it; get it into shape but don't have to knead it or anything, or you'll toughen up the dough. It should be relatively dry, not sticky or tacky.
 Then put your ball o' dough into your proofing bowl, and roll it through the oil until it's entirely coated. Cover the dough with a towel or some plastic wrap and put in a draft-free space. I proof in my oven--obviously unheated, of course.
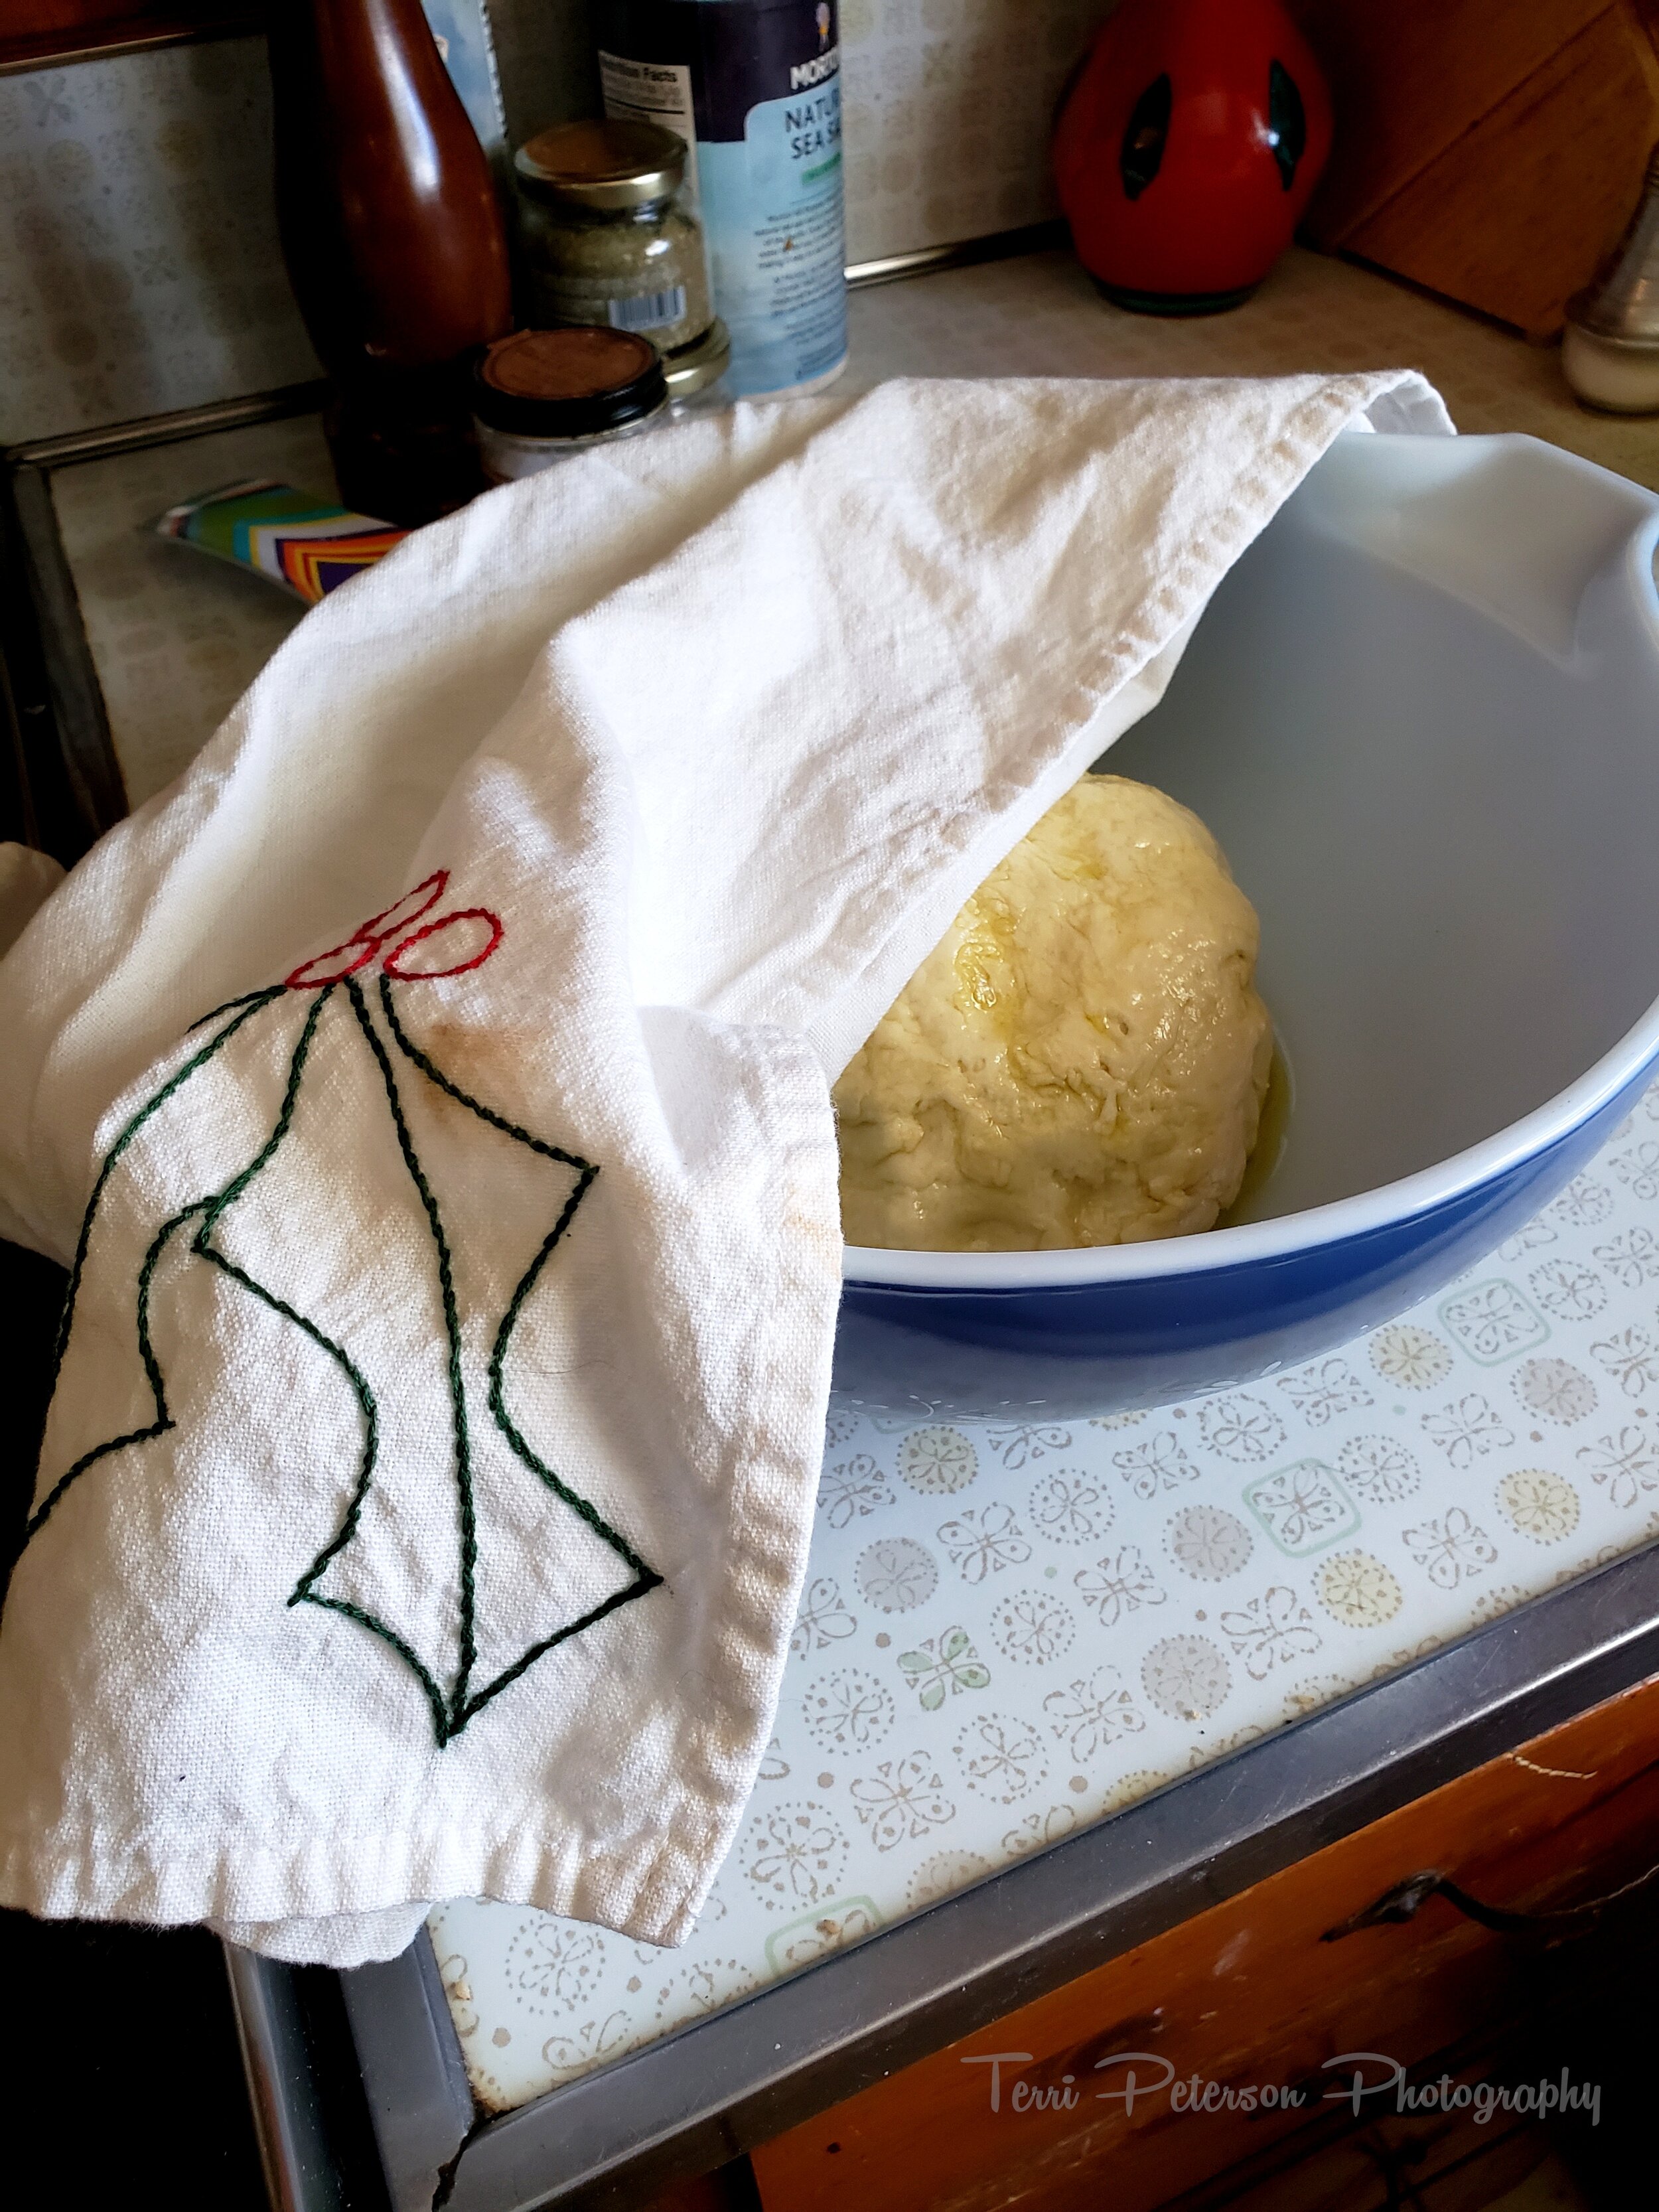 A word about my kitchen towel: Among other things, I teach SilverSneakers classes at a local YMCA, and I don't mean to brag but my students are the best. One of those students gave me this towel for Christmas, and it was embroidered by her 90-some-year-old mother. Her mother (I bet you see where this is going, don't you?) passed away not long after the holidays, so I have one of the last items she ever made. I will treasure this towel forever.So. Into your proofing area (oven, cabinet, protected corner of your counter space) it goes! And don't touch it for two hours, even if the smell of blooming yeast starts to drive you wild with hunger. At the end of the two hours, turn your dough out onto the pre-floured countertop, cut in half, reshape into a nice little ball, and cover again with a towel for about ten minutes. They will rise again, slightly, and poof out anew. Once that happens, they are ready to use.
 At last! This is where the fun begins! When you're ready to cook your dough into a delicious crust, preheat your oven to 450°, and put the oven rack on, ooh, probably one step away from your heating element (up if you've got an electric stove, low if yours is gas).Make sure your workspace is ready for a large piece of dough to be rolled out. Toss a light layer of cornmeal (if you have it; if you don't, it's not critical) along the bottom of your roasting pan to help prevent the dough from sticking as it bakes into crust. To roll the dough out, I took two pieces of waxed paper and taped them together in the back, and dusted the untaped side with flour. Then I rolled the dough on top of the waxed paper.
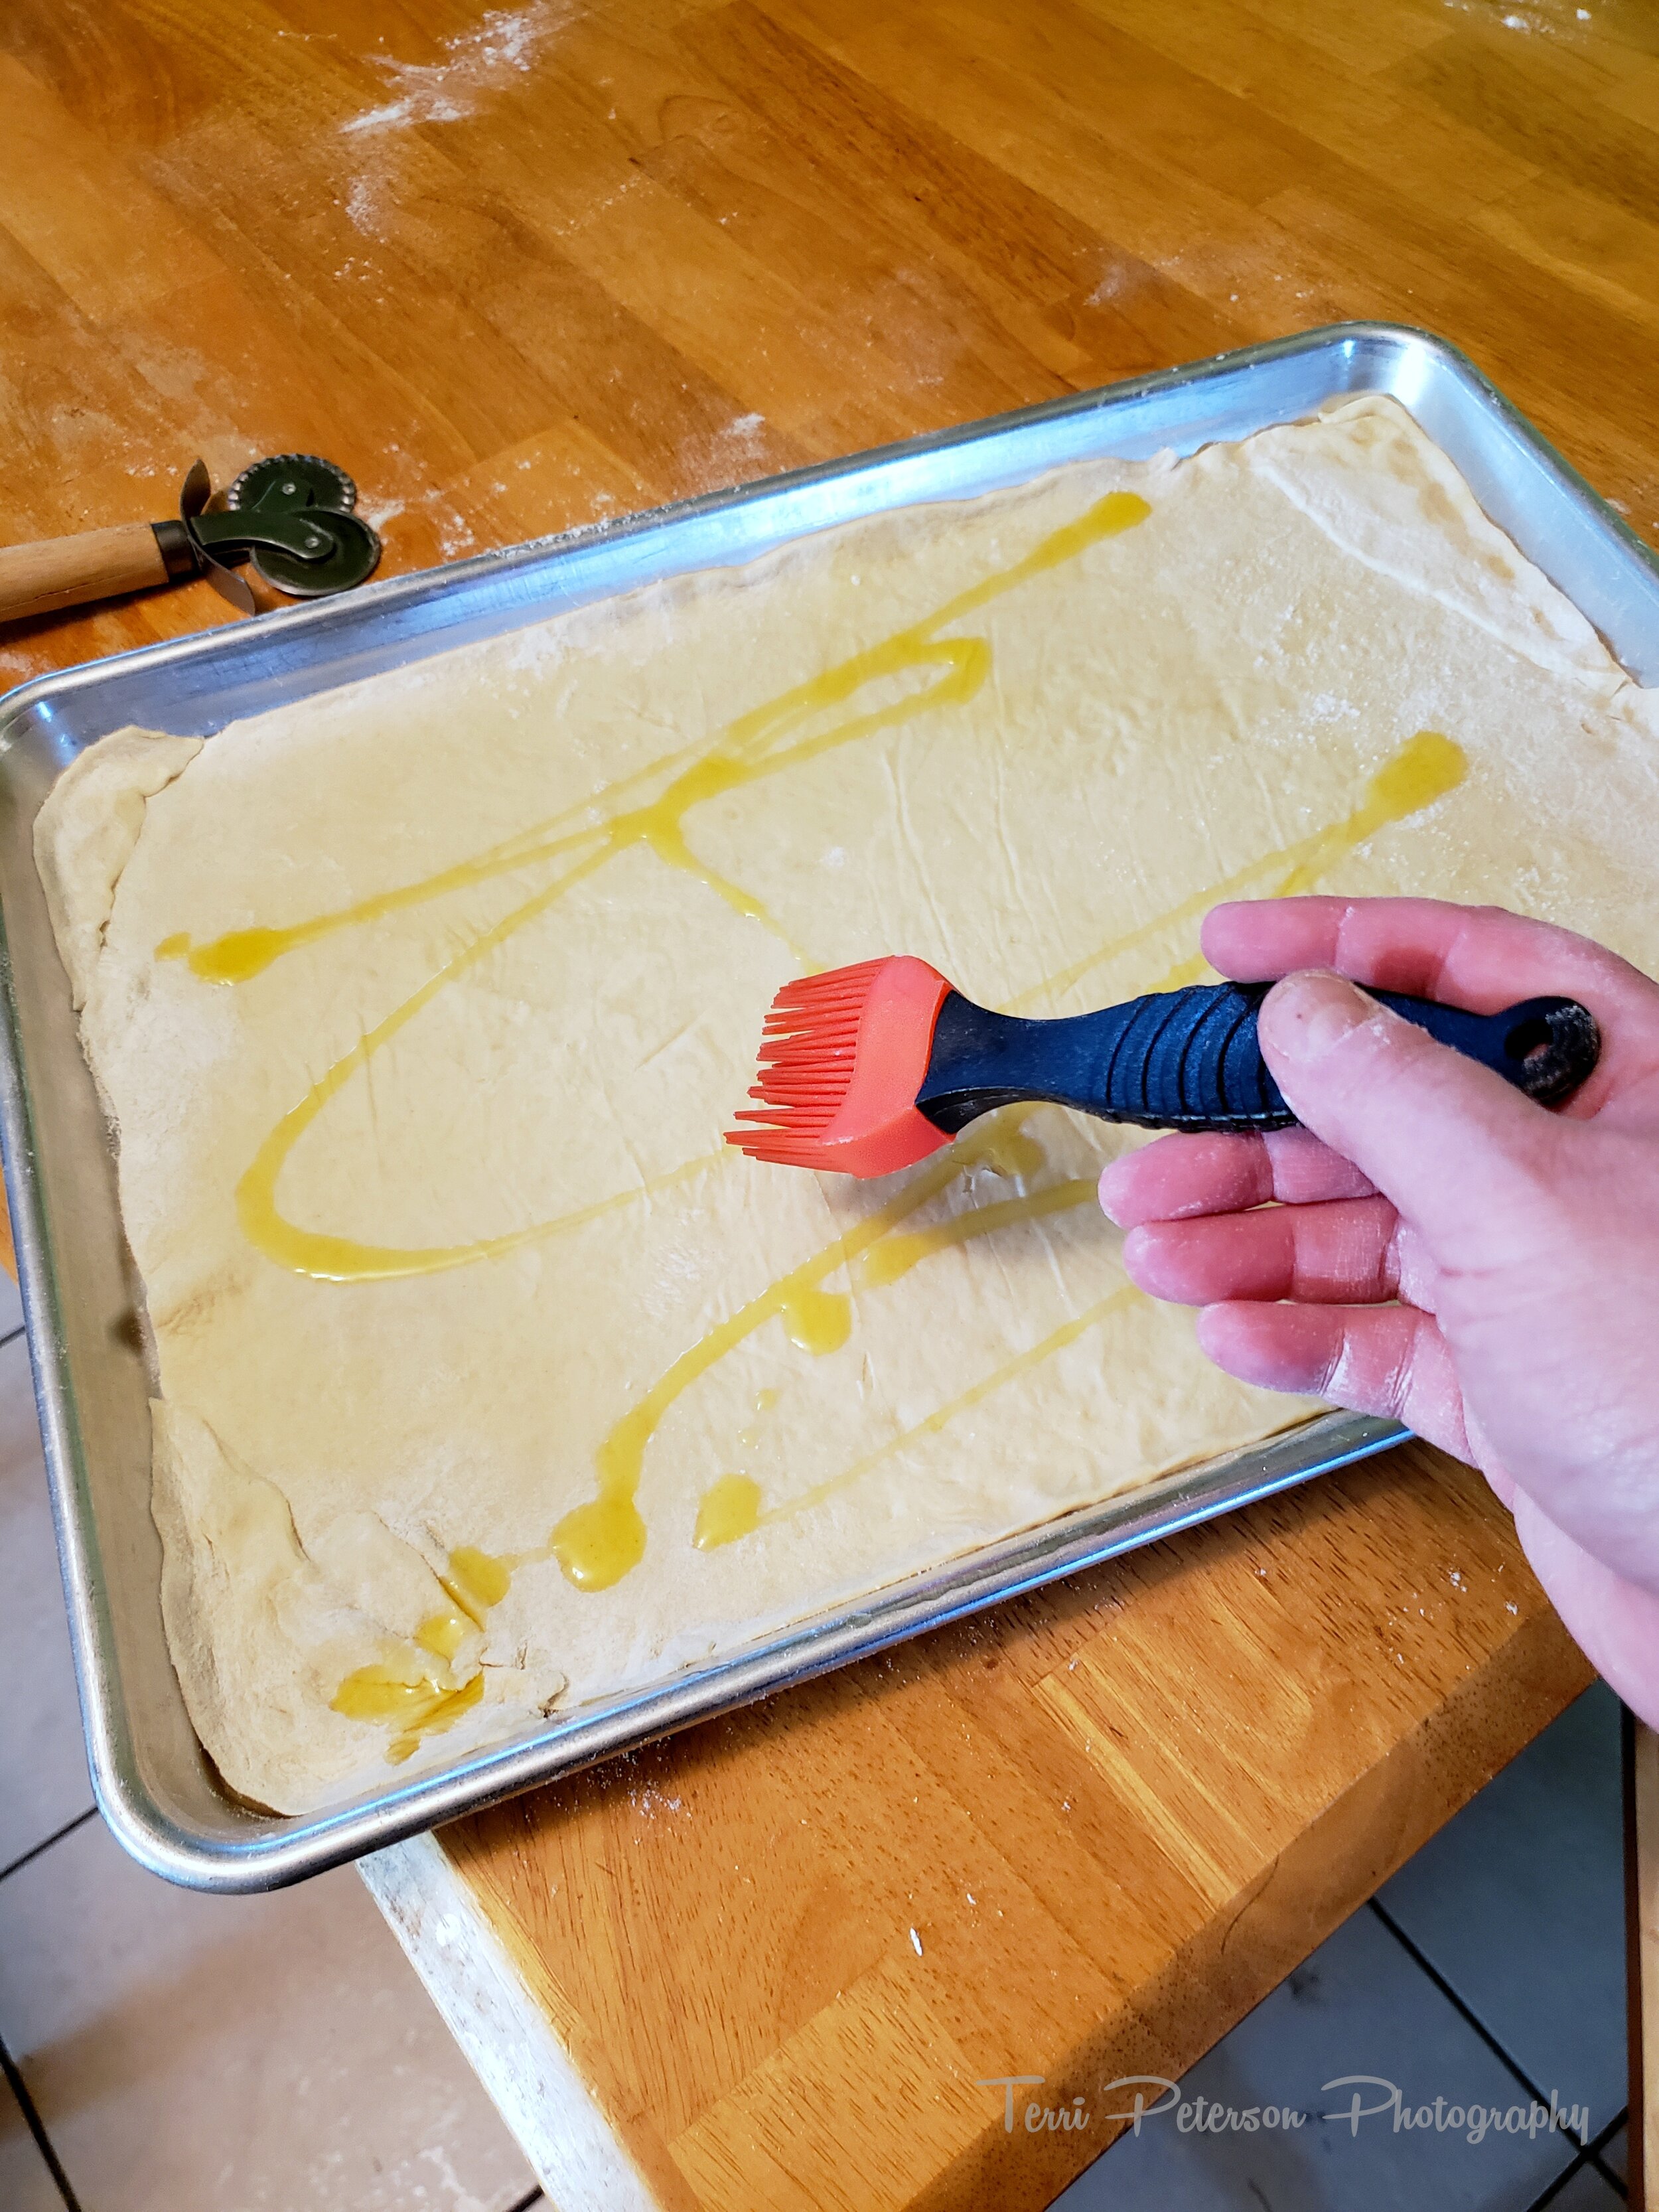
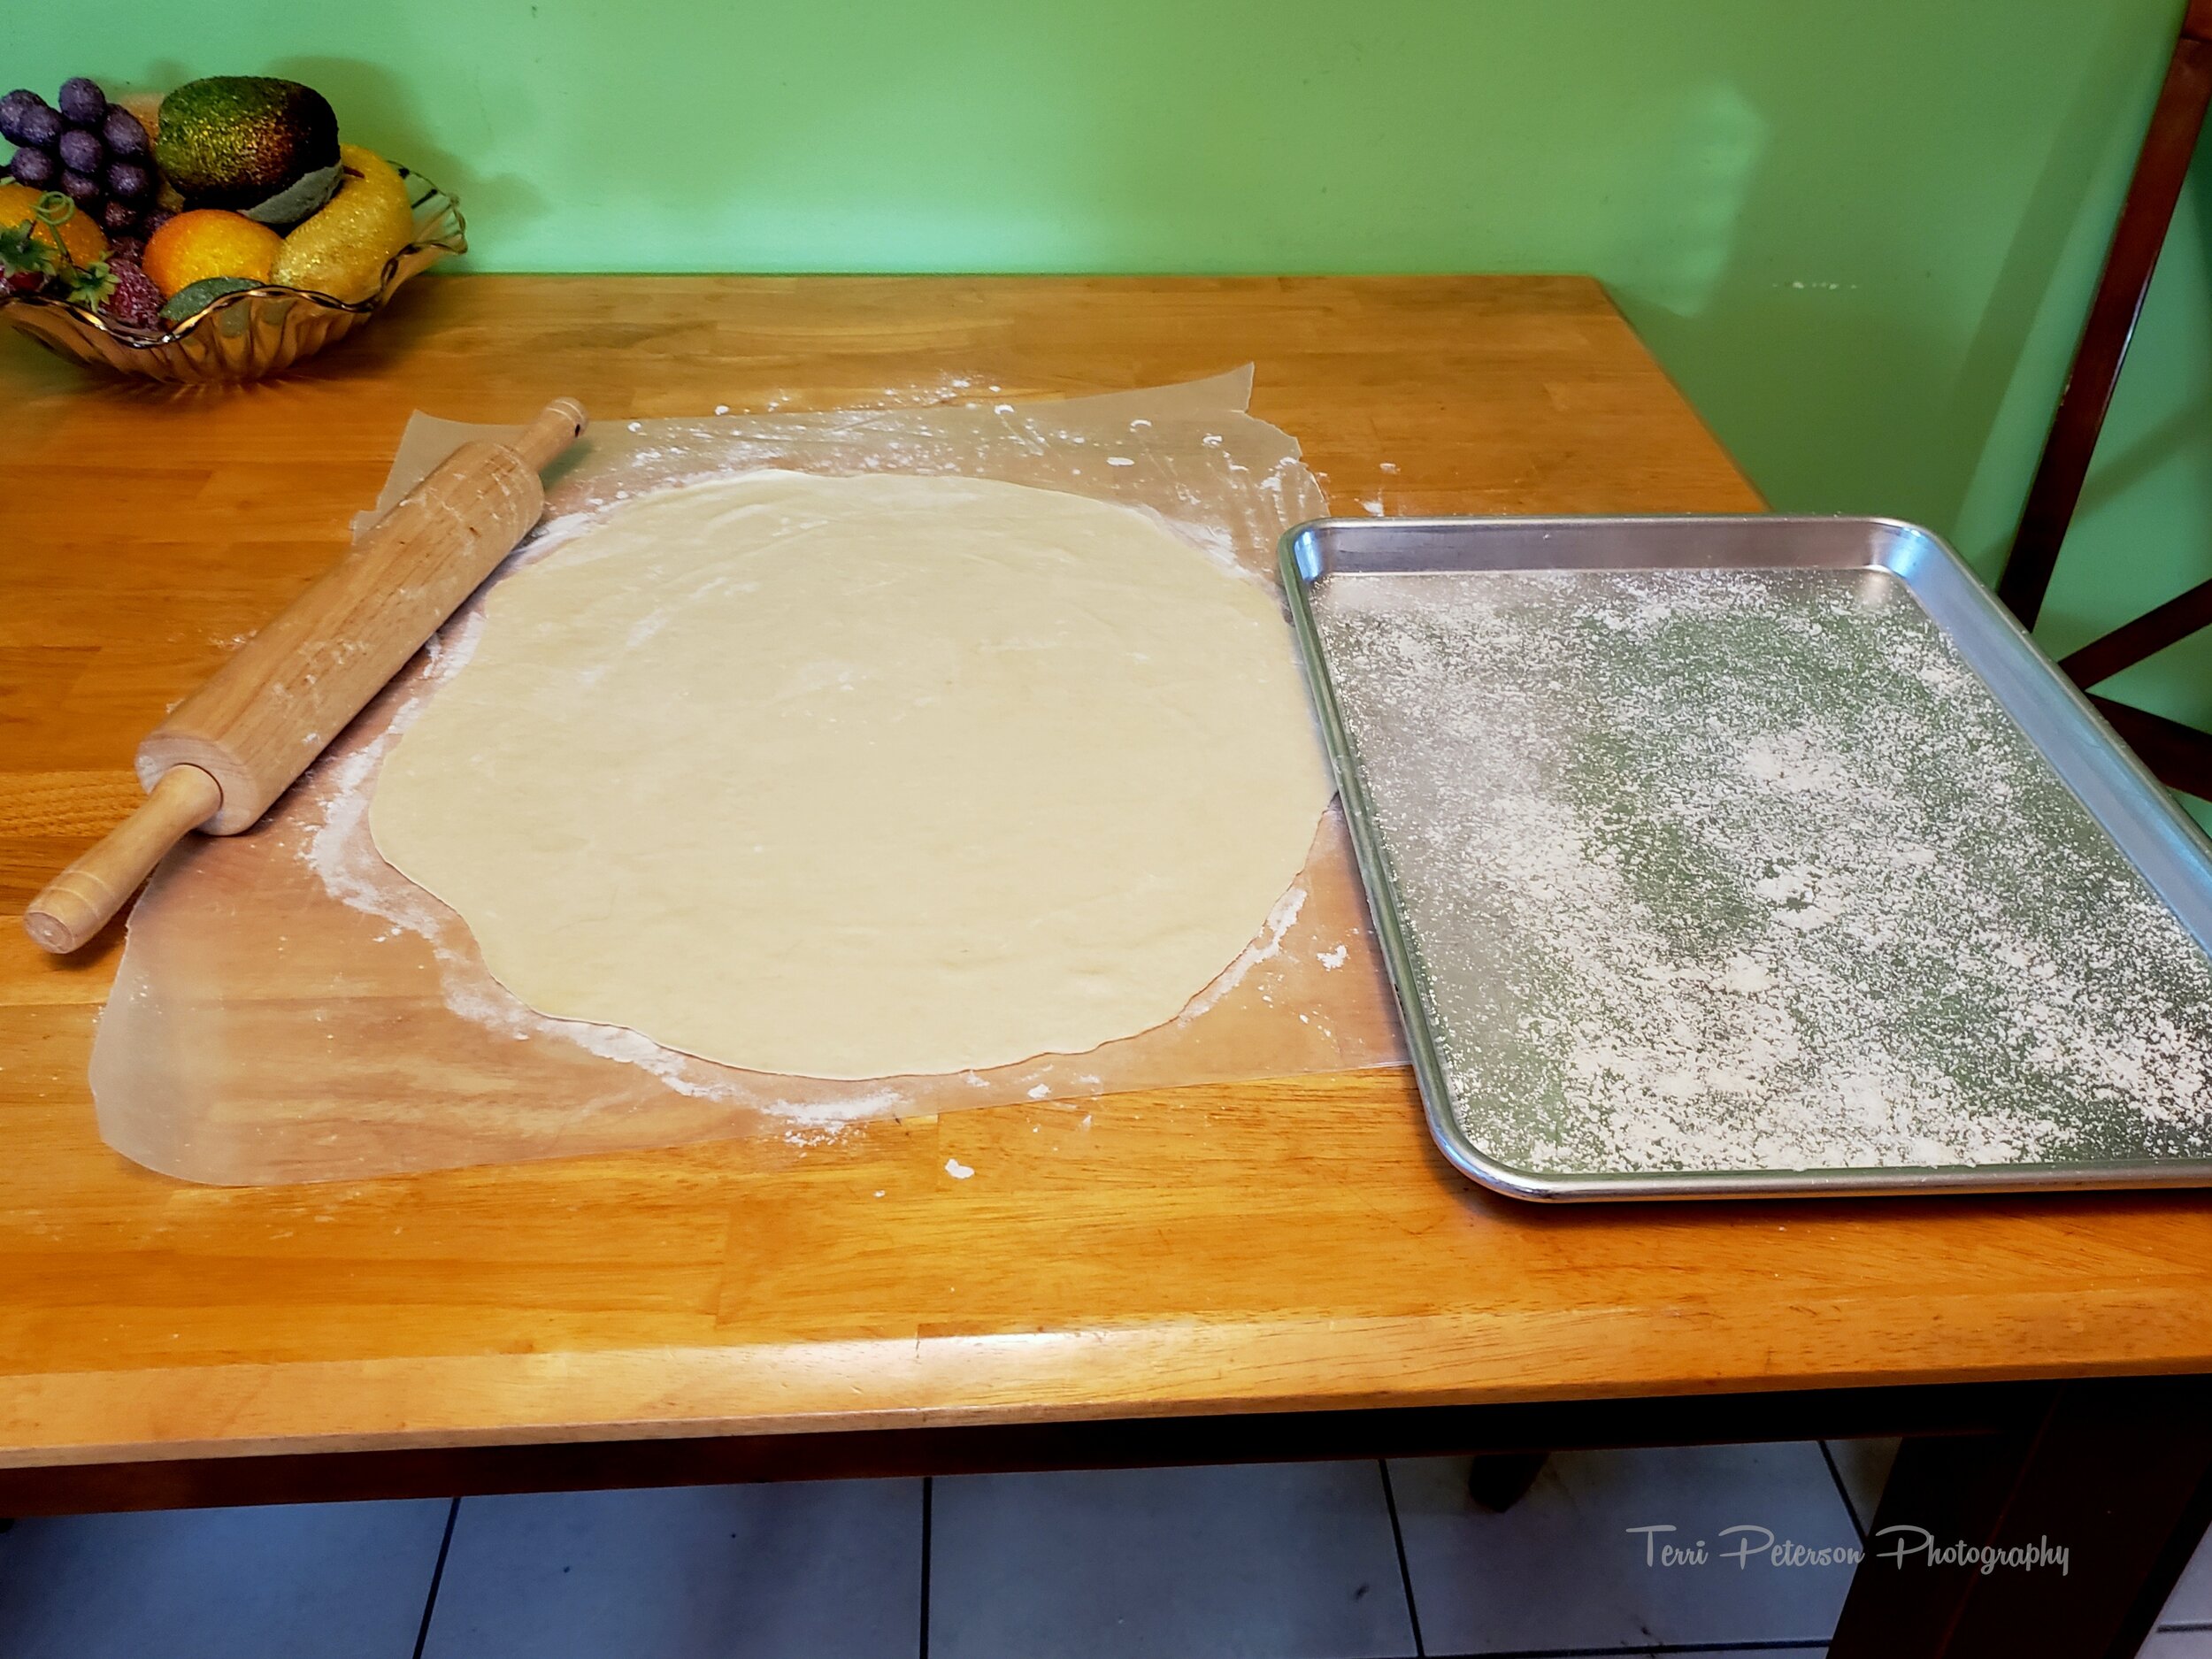 Why on waxed paper? Because that allowed me to invert the waxed paper, lay the dough down on top of the pan, and peel the paper away.Plus, it made cleanup a breeze.Trim any overhanging dough and re-smoosh it into the corners and wherever there is a spare spot. Then get a brush and some oil, and lightly oil the dough. This will help prevent your dough from absorbing too much sauce and getting soggy, and I swear to GOD this works and it has changed my life forever.
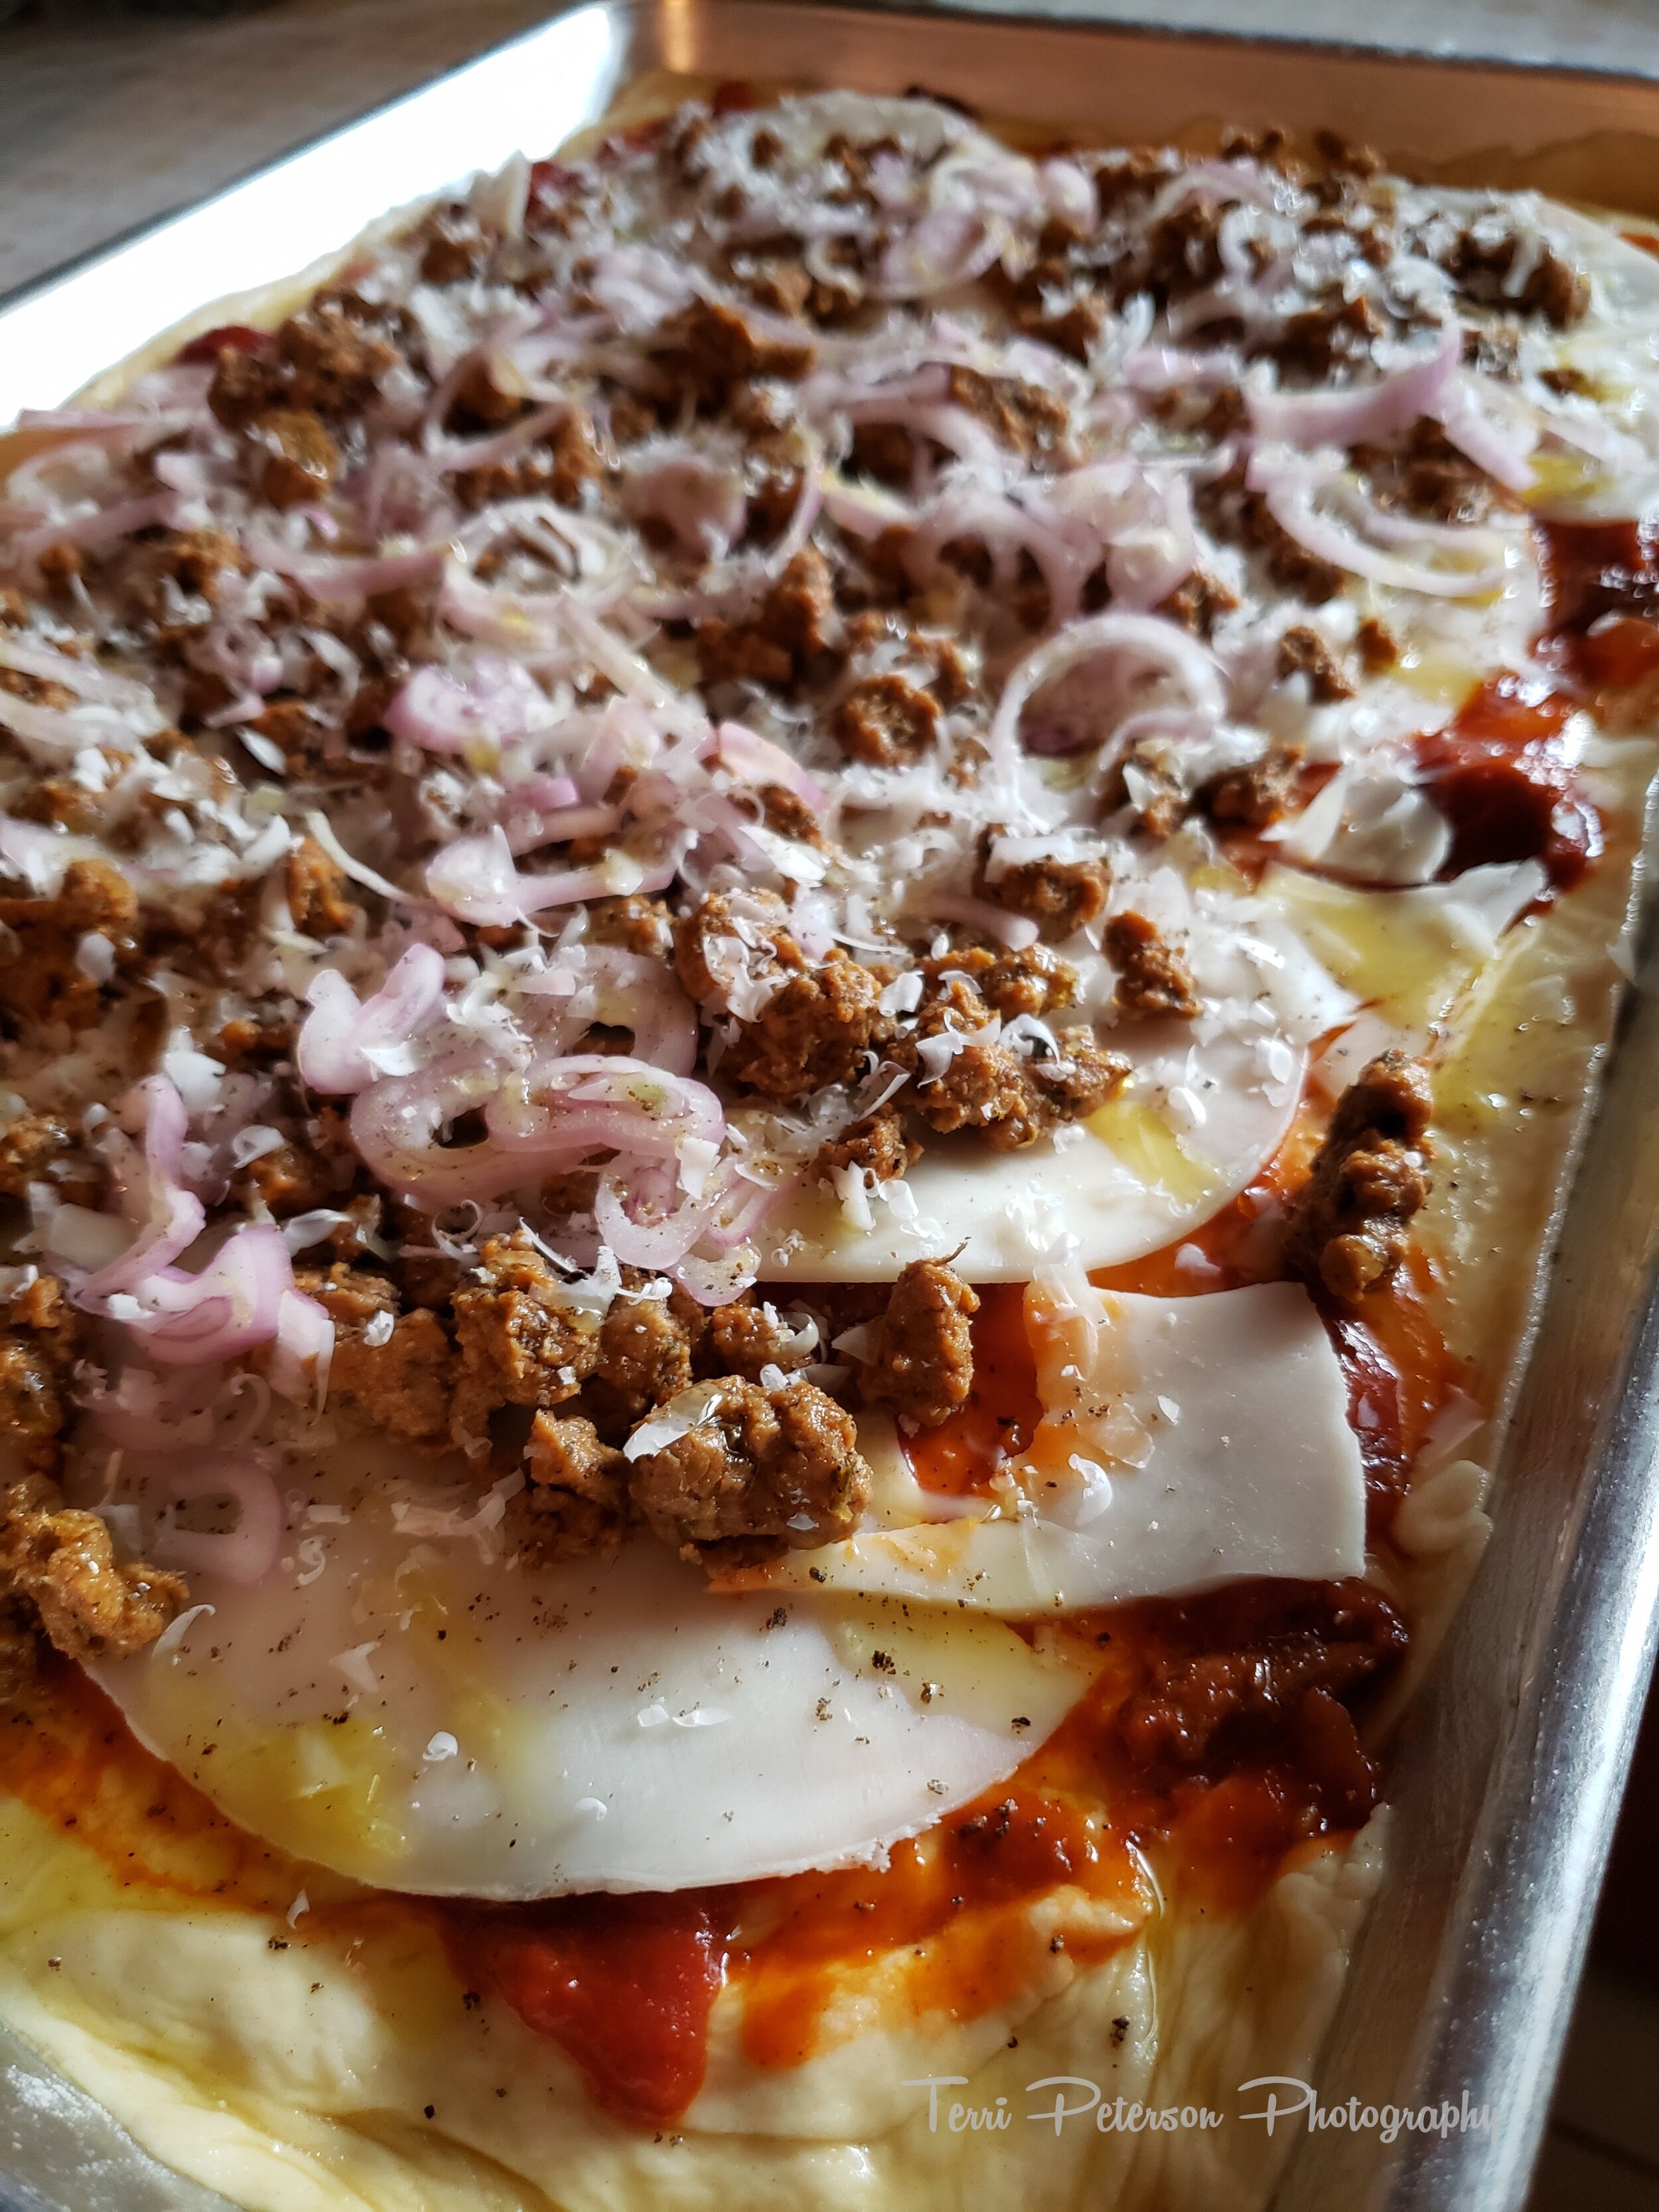
 Add sauce, and then your choice of toppings. Remember, the general idea as far as sauce goes is that less is more, because you don't want a soupy pizza. And the beauty of a pizza is it can be a way to use things that you need to get rid of. Our sauce was the remainder of a batch I made for spaghetti a few nights before, we had a ton of provolone that we over-bought at the grocery store, the shallots were on hand, and can you ever go wrong with shallots? (Answer: No.) As for the seitan chorizo (or, fauxrizo, as I like to call it), that was in our freezer and just begging to get used. Oh! And the romano. I always have a wedge of hard cheese in my fridge. It comes in handy at times like this.
 Put the pizza in the oven and let the magic happen. We checked this beautiful creation at 15 minutes, and then left it in the oven for another seven. When we took it out, browned and crisped and a little bubbly, we topped it with the baby arugula that needed to be eaten before it went to the dark side (again, fridge-clearing and non-wasting).And then oh. Oh, my.
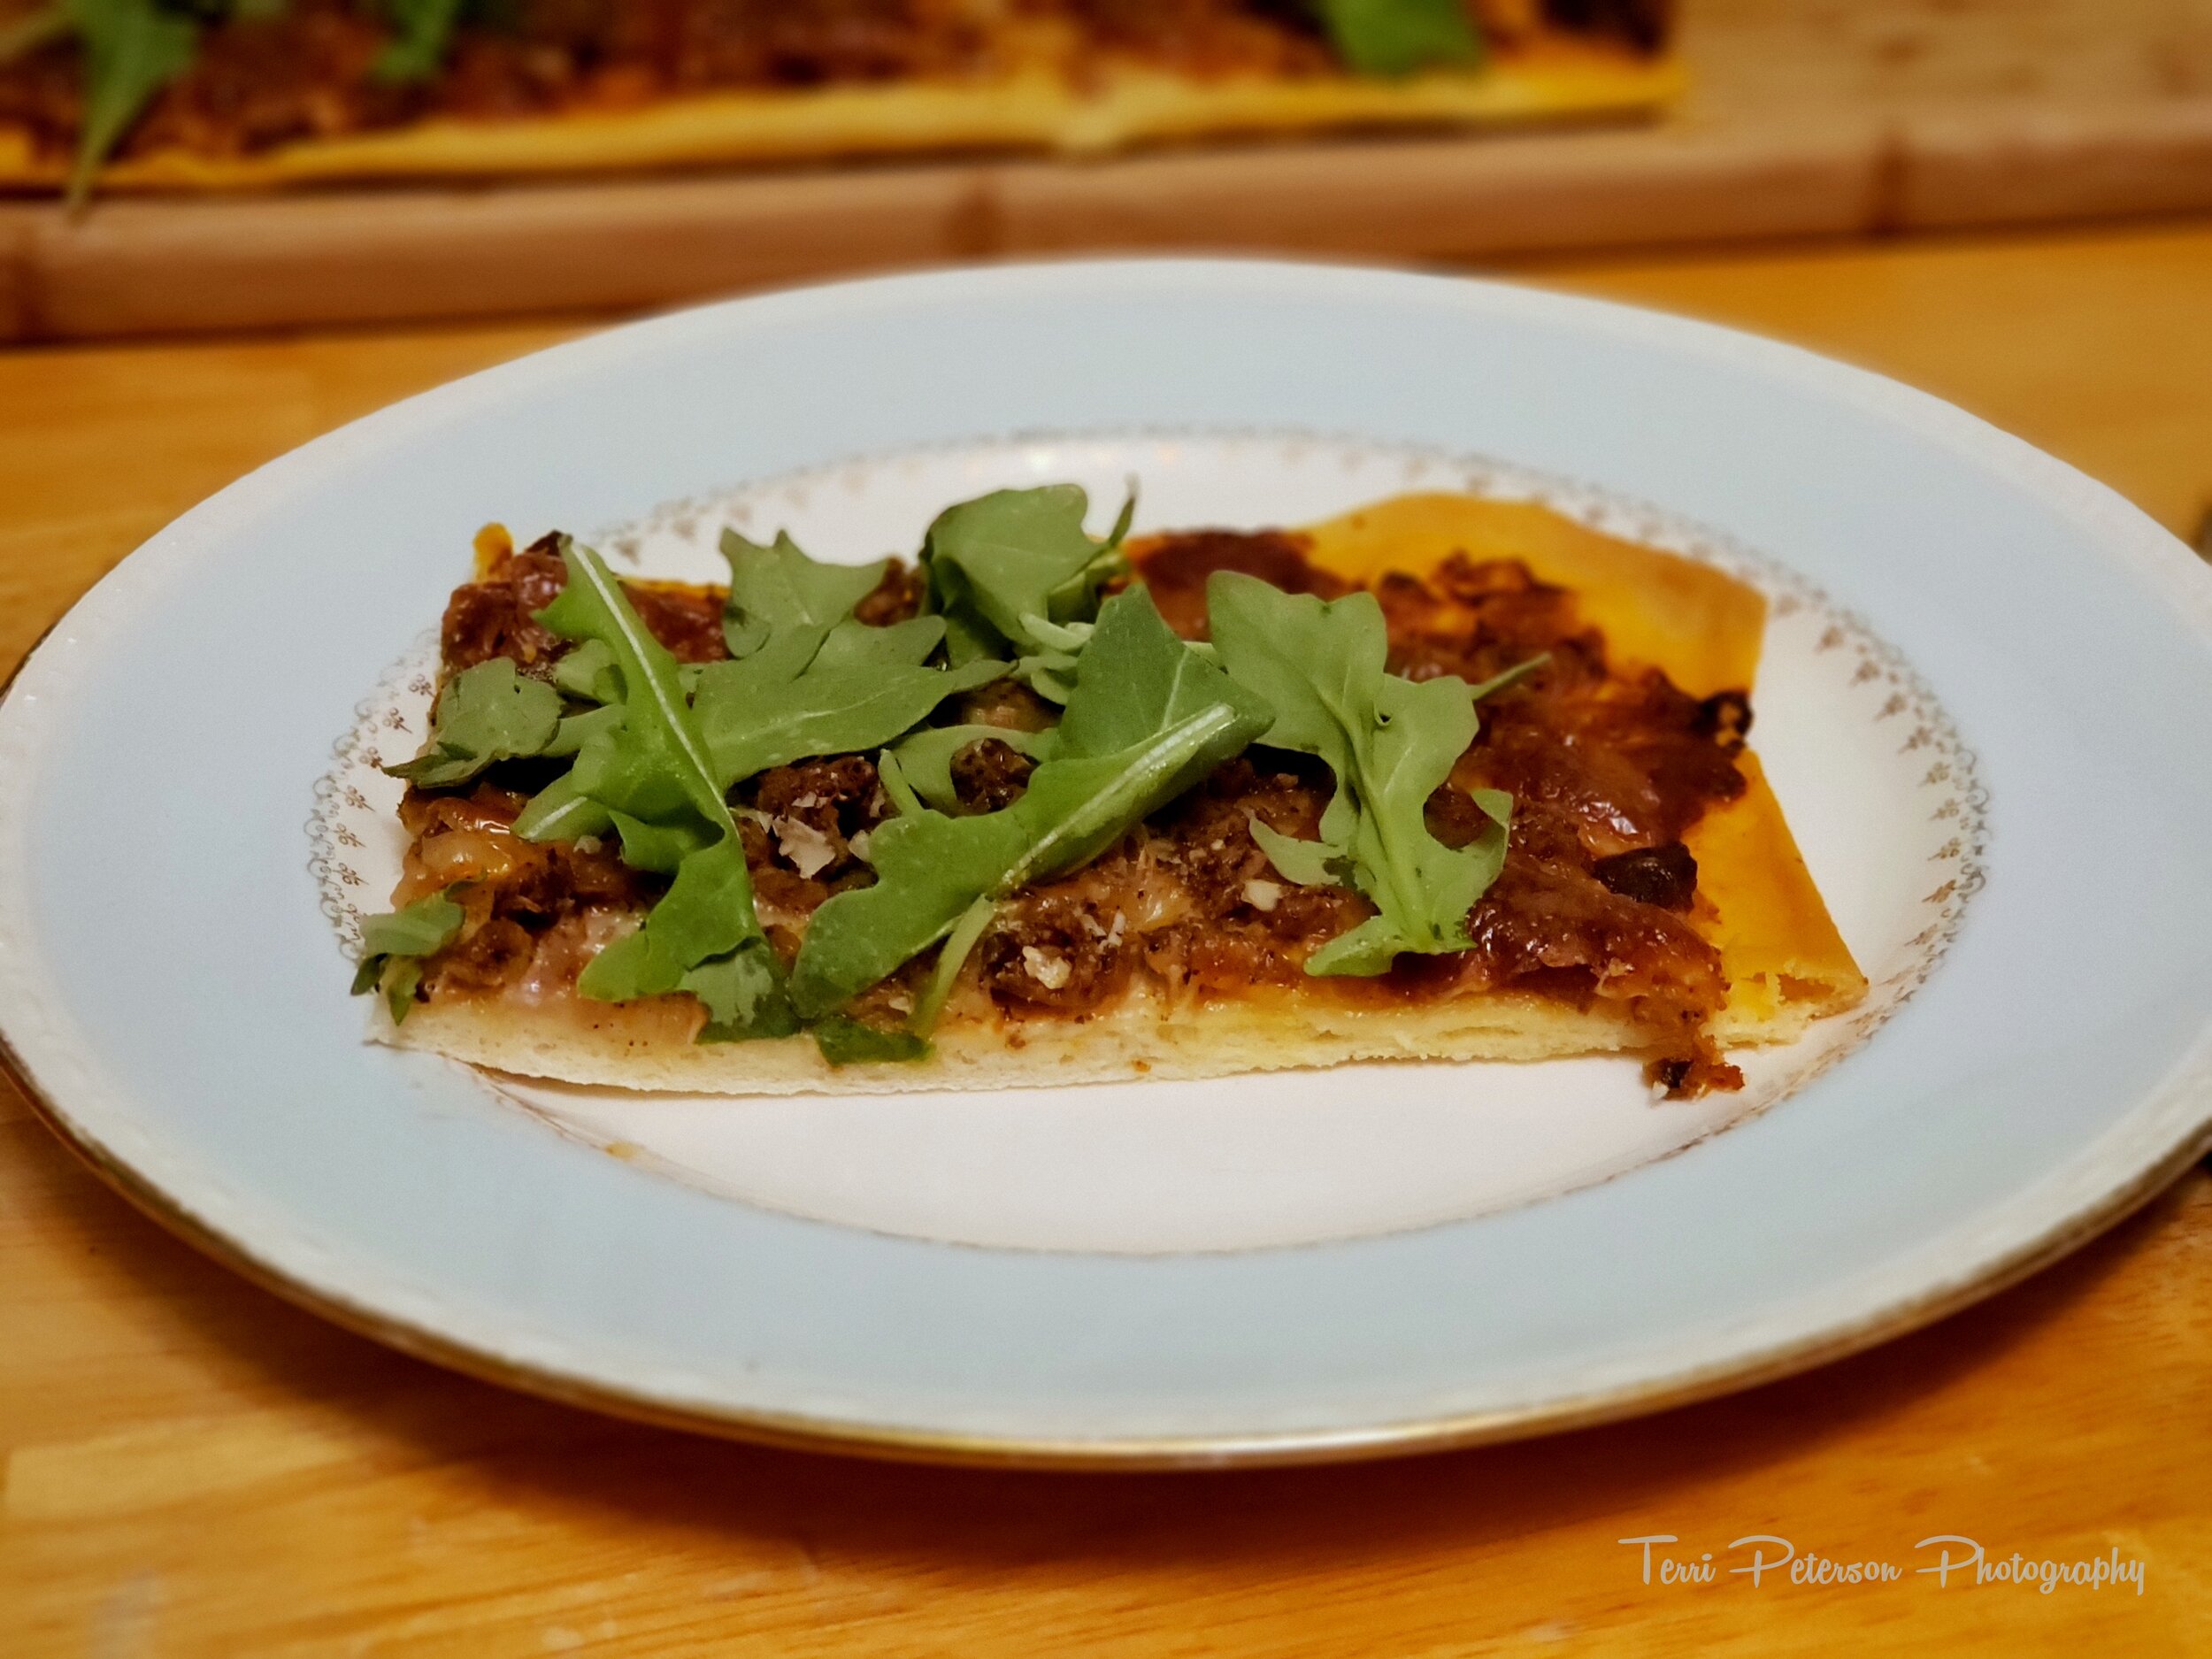 It was thin, it was chewy in the right places, crispy in other spots, delicious, not soggy, easy to make and easy to use. No wonder this is such a popular flat bread-based meal. And bonus! I have another batch waiting for me in the freezer. All I have to do is defrost.